Creating a 3D character involves several steps, from conceptualization to final rendering. Here’s a general guide to help you navigate the process:
- Conceptualization and Design:
- Define the character’s personality, backstory, and purpose.
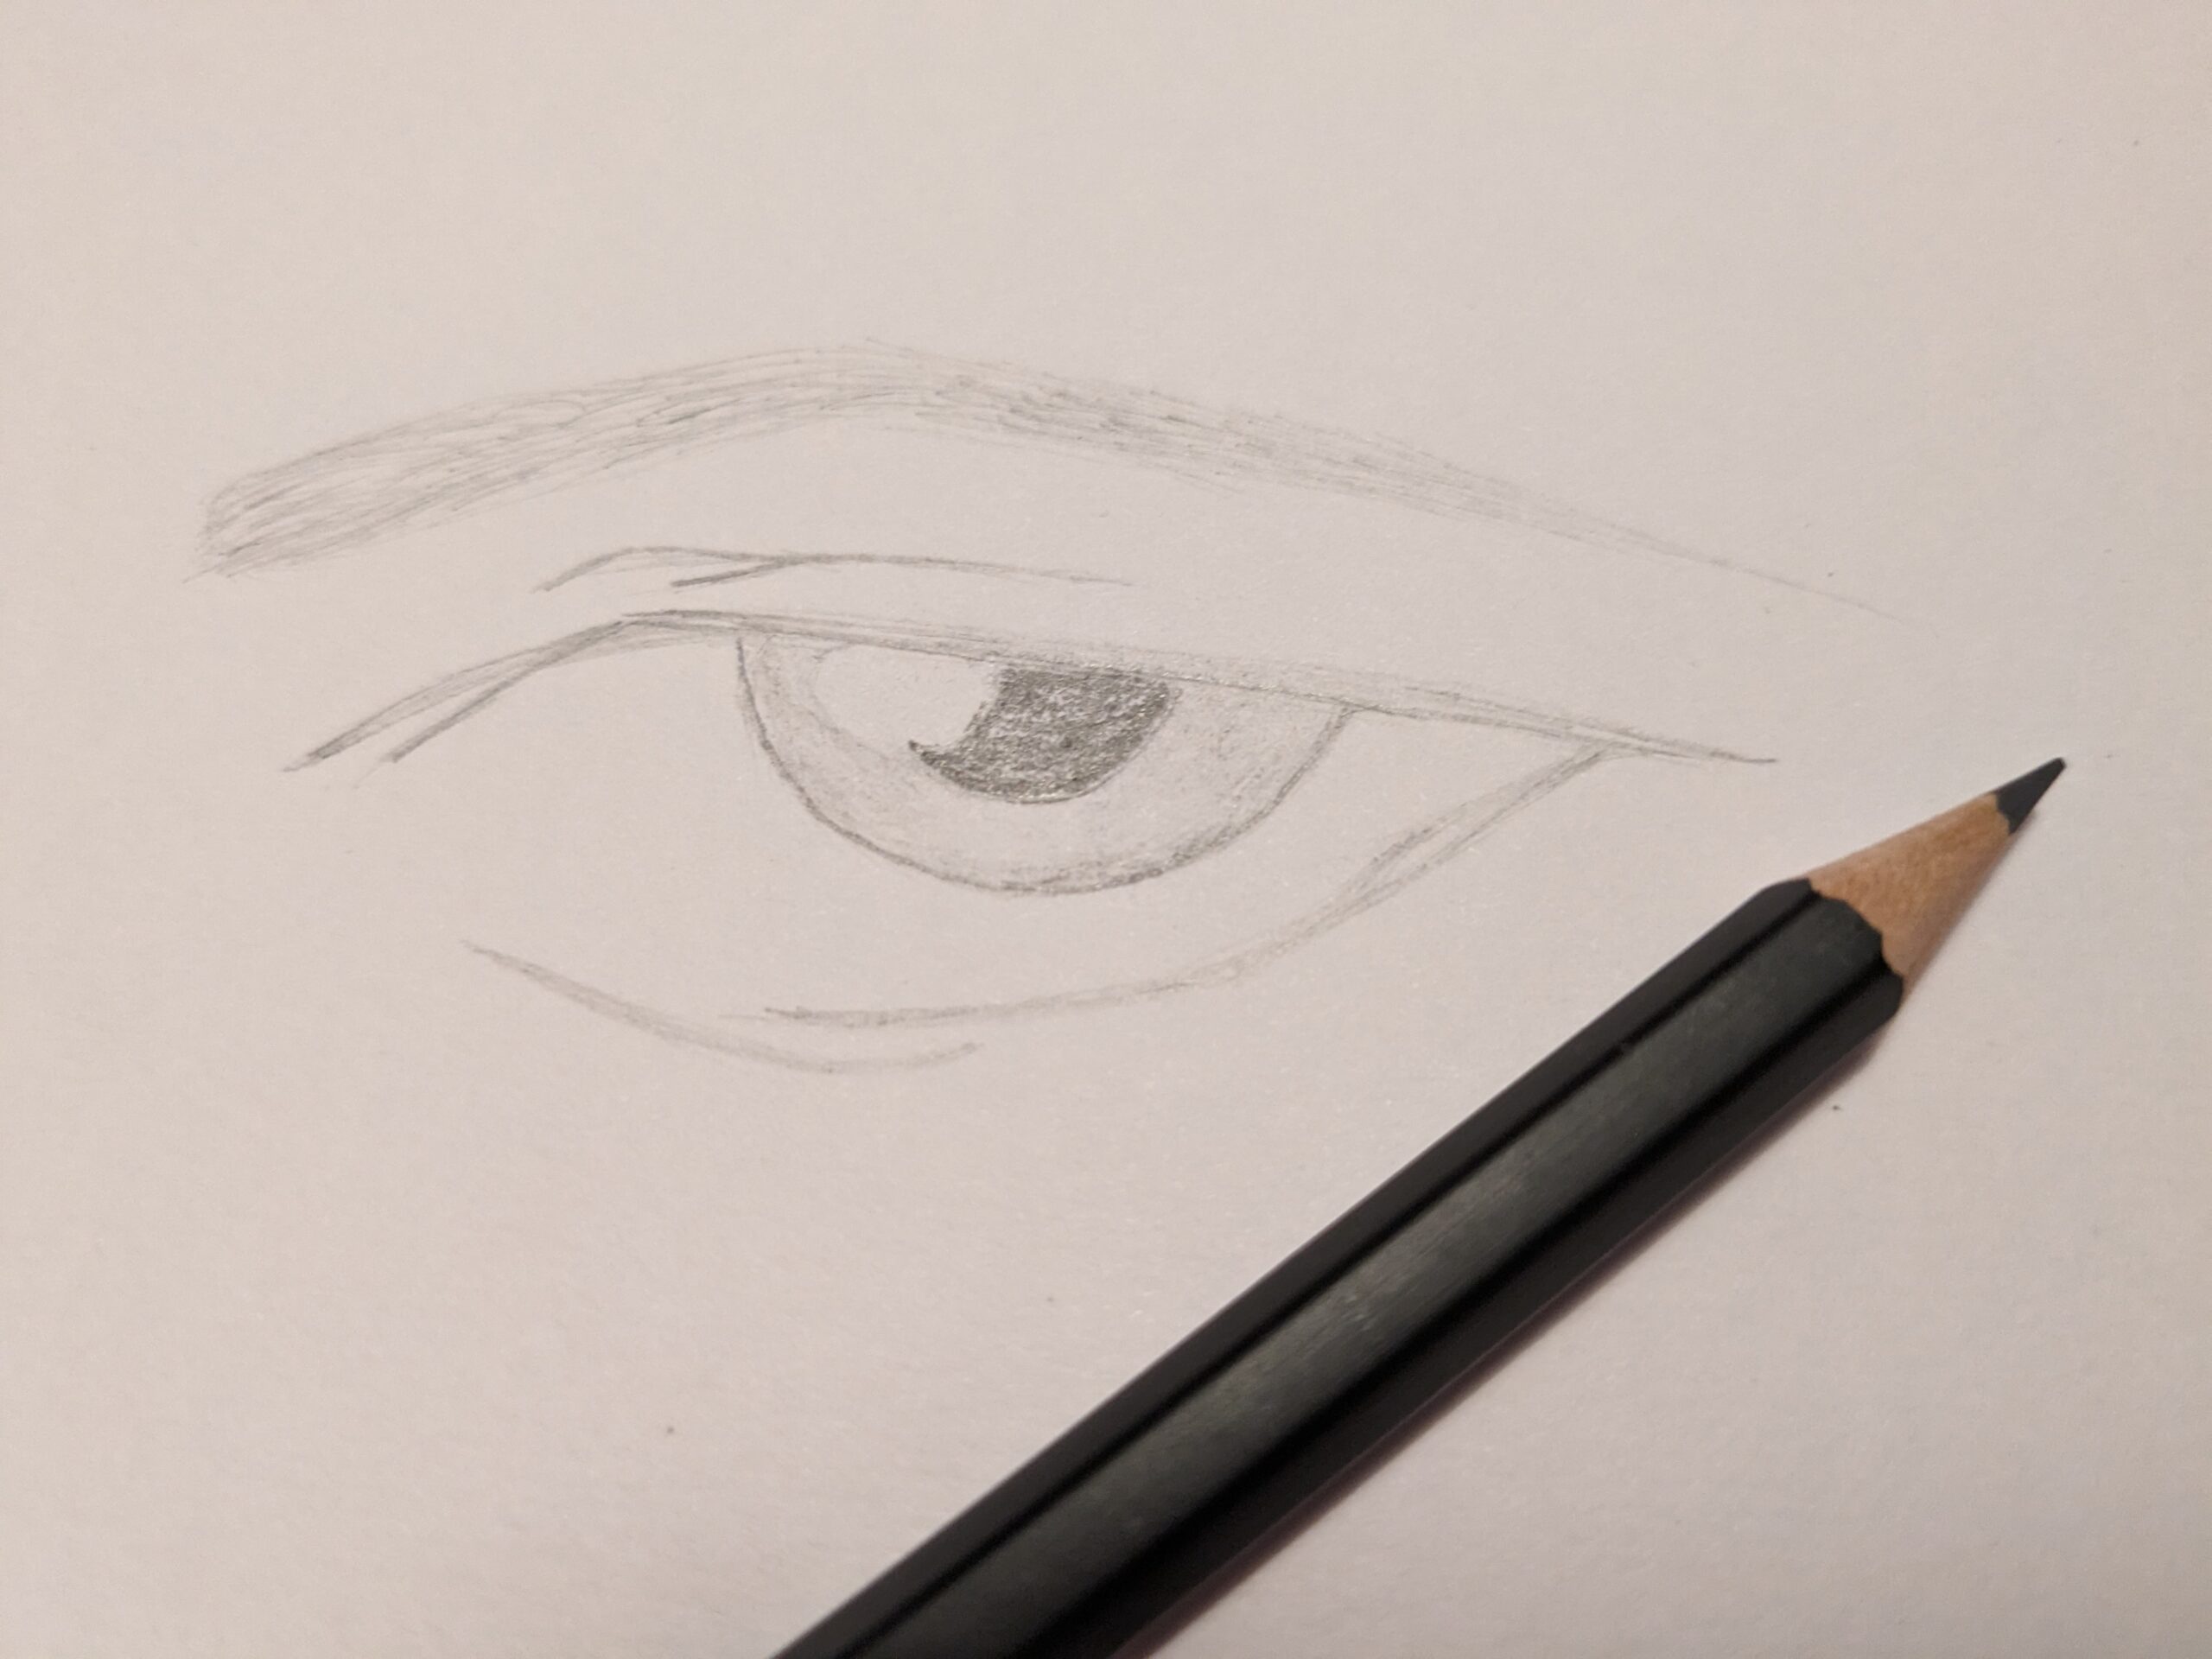
- Sketch initial ideas on paper or digitally to visualize the character’s appearance.
- Consider proportions, features, and overall aesthetics.
- Research and Reference Gathering:
- Collect references for similar characters, costumes, and environments.
- Study anatomy, clothing, and other details relevant to your character.
- Modeling:
- Use 3D modeling software (e.g., Blender, Maya, ZBrush) to create the character’s basic structure.
- Start with a simple base mesh and gradually add details.
- Pay attention to topology for smooth deformation during animation.
- Texturing:
- Unwrap the 3D model to create a UV map.
- Use texture painting tools to add color, details, and textures to the character.
- Consider the character’s skin, clothing, and accessories.
- Rigging:
- Create a skeleton (rig) for the character to enable movement.
- Set up bones and joints for realistic animation.
- Test the rig to ensure smooth movement and deformations.
- Animation:
- Animate the character based on the intended actions and storyline.
- Pay attention to facial expressions, body language, and fluidity of movement.
- Test different poses and actions to bring the character to life.
- Lighting:
- Set up lighting in the 3D environment to highlight the character.
- Experiment with different lighting scenarios for mood and atmosphere.
- Rendering:
- Configure rendering settings for the final output.
- Choose the desired resolution and image quality.
- Render the character from different angles for a comprehensive view.
- Post-Processing:
- Enhance the final images using post-processing software (e.g., Photoshop).
- Adjust colors, contrast, and add any necessary effects.
- Review and Refinement:
- Review the entire project to ensure consistency and quality.
- Make any necessary adjustments based on feedback or personal observations.
By following these steps, you can bring your 3D character from conceptualization to a fully animated and rendered creation. Remember that practice and experimentation play crucial roles in refining your skills and achieving desired results.
